This is an old revision of the document!
Rocky Linux 9 Migration Notes
2024-05-13: Upgrade to Rocky Linux 9.4 broke test Rocky Linux 9.3 system where X will not start under Xfce or other window managers. Tried a bunch of things but gave up; one of the other Rocky Linux 9.3 VMs upgraded OK (before I discovered the problem on the test VM).
NOTE 1: The fresh install instructions below were tested on Rocky Linux 9.3
NOTE 2: Upgrading Rocky Linux 9.2 to 9.3 in late November 2023 resulted in ImageMagick errors. Tried to remove ImageMagick*, then upgrade 9.2 to 9.3, and then reinstall ImageMagick* but the same error occurs. Fix was to disable /etc/yum.repos.d/epel-next.repo and then reinstall ImageMagick*.
NOTE 3: To migrate from Rocky Linux 8.x to 9, try these steps.
The notes below have been combined from CentOS 8 Migration Notes and CentOS 7 Migration Notes.
It is based on the Xfce Desktop Environment. MATE is available, see notes at bottom of the page.
Before Starting
- Get inventory of users (see /home)
- Become familiar with what each one does and the crons they run
- Copy the following to external hard drive or other machine for restoration after upgrade
- All users $HOME directories
- Ensure crons are in each user's $HOME/crontab directory
/etc/hosts/etc/samba/smb.conf/var/lib/samba/private/passdb.tbd/var/lib/samba/private/secrets.tbd/etc/vsftpd/*
Installation
- Perform a minimal or basic install of Rocky Linux 9
- Backup
/etc/selinux/configand change from enforcing to permissive. Reboot. - Run the Rocky Linux 9 bash setup script to get the usual extras, add-ons and other packages
- Reboot target computer and login.
- Since Xfce will be installed by running the bash script noted above, you can copy in pre-existing configs from another machine that already has Xfce installed.
- Copy files in
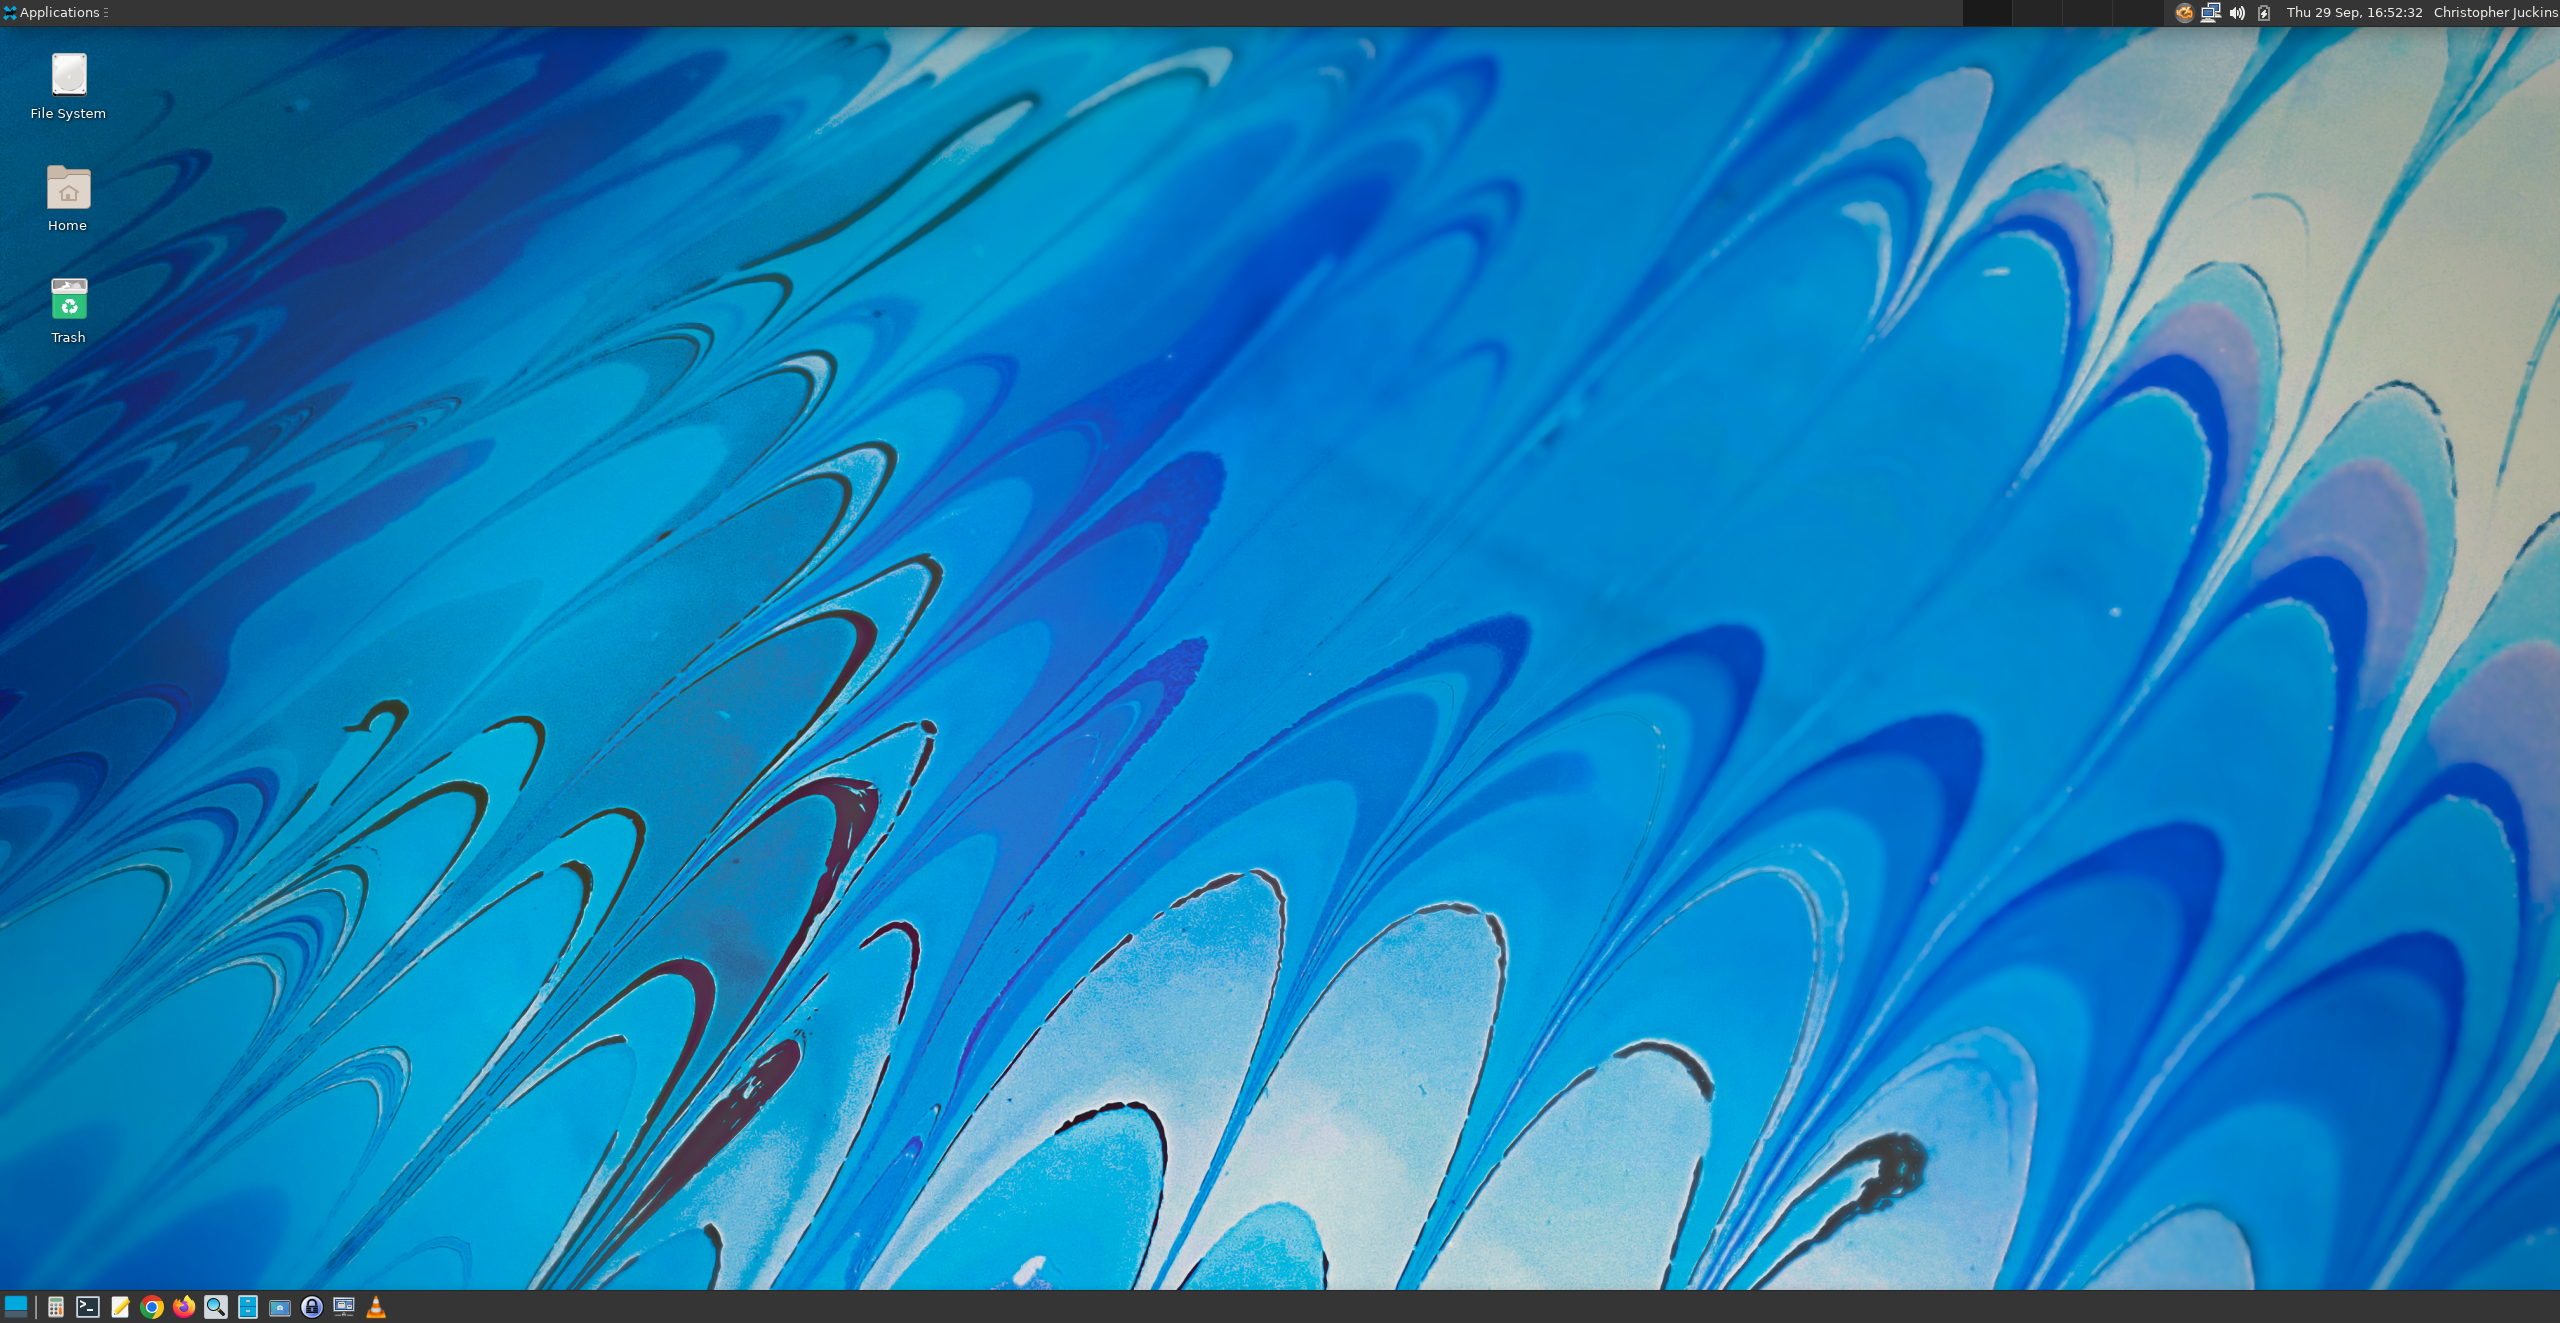
~/.config/xfce4/from another pre-configured machine to this machine cd .config/xfce4; rsync -avzn –delete –progress . XX.XX.XX.XX:~/.config/xfce4/- See Xfce Desktop image 1 or Xfce Desktop image 2 for suggested icons, placement, etc.
- Disable screensaver and power management
- If necessary, disable WiFi LAN connection as root:
nmcli radio wifi off
- Create necessary user accounts
mate-user-adminis a graphical admin tool (old tool was system-config-users)
- Restore user's $HOME directories
- Copy over non-hidden files/directories first
- You can use rsync with the option to ignore hidden files
- Then rsync other hidden directories in each user's $HOME one-by-one, taking only what is needed
- Copy/merge in
/etc/httpd/conf/httpd.conf(and all backup versions) from previous machine - Test password-restricted pages
- Run through PHP 8.2 on Rocky Linux 9
- Copy/merge in a known good
/etc/php.inifile from previous machine - Ensure a php file loads correctly (localhost, 192.168.X.XX, 127.0.0.1)
- Check httpd logs for any errors, such as mod security
- Uninstall mod_security RPMs and restart apache if web pages cycle between Forbidden errors
- Firewall configuration
-
- Can also try
firewall-configto clone rules from previous machine
-
firewall-cmd –zone=public –add-service=http –permanentfirewall-cmd –zone=public –add-service=https –permanent
-
- Edit
/etc/fail2ban/jail.localto ban for longer than default of 1 hour - Review
/var/log/fail2ban.logoutput - As root, ensure service is running:
systemctl enable fail2bansystemctl restart fail2ban
- MySQL / MariaDB Database - Installation
- Install MariaDB on Rocky Linux 9 and follow all steps to secure it, change default password, etc.
- How to reset mysql root password if needed
- Install phpMyAdmin and use these tips
- Merge in config.inc.php from previous machine
- Clear local browser history, then test
- To create the phpmyadmin database, use the "Import" function and browse to the sql/create_tables.sql script (do this as root db user)
- To move over users, export from phpMyAdmin on old machine and cut-past into the Import function on new machine.
- If problematic, save to a .sql file locally and use the Import function.
- MySQL / MariaDB Database - Migrate databases
-
- They can be exported from phpMyAdmin (but don't include root)
-
- Note that the restore of mysql does not use
-all-databasesoption and is an error in link above
- Export MySQL databases with mysqldump
- When done, check format of tables (MyISAM vs InnoDB vs Aria)
- To change database engine, see these notes
-
-
- For the non-root user needing it, run
pip install dictorandpip install astral
- Install miniconda3 (see Python Virtual Environments)
- Set up Samba users, passwords, shares (for security cameras)
- Credentials are stored in my secure password file
- command will be:
smbpasswd -a USER(then enter password at next prompt)
- Make sure service is running and will start at boot.
- Check output with:
testparm -v - The security cameras will need to reformat their nas disk locations to store video files
- VSFTP (for security cameras)
- As root:
setsebool -P allow_ftpd_full_access on - As root:
systemctl restart vsftpd - As root:
systemctl enable vsftpd
- Setup ddclient:
dnf -y install ddclient- Use
/etc/ddclient.conffor configs from previous machine
- Setup duckdns updater cron
- Setup ydns updater cron
- Rsync over
/var/www/html/- Test pages for proper display
- Check httpd logs for errors
- Restore and test crons for each user
- Check that each cron job runs and the specified log directory exists
- Modify
/etc/environmentto includeLC_TIME="en_GB.UTF-8"for 24-hour clock used by cron jobs
- Check network connections and make sure active connection comes up at boot time
- Restore Thunderbird profile
-
- Migrate/import VirtualBox machines using these notes
- I had to create and self-sign MOK (Machine Owner Key) certificates. Info here.
- My Google Doc "Linux Replacement 2024" has some crude notes
- Restore Remmina profiles
$HOME/.local/share/remminaand$HOME/.config/remmina
- Test ASMAD for processing end-to-end
- All perl scripts
- Required modules should be included in the dnf installer bash script
- All python scripts
- Check my amtrak_status "doc" directory for required python modules
- Install ClamAV
- Install local printer
- Use http://localhost:631/admin and root username/password for credentials
- If you don't use root credentials, then you need to modify /etc/cups/cups-files.conf and add my username to the SystemGroup line
- Then restart cups
systemctl restart cups - Use AppSocket/HP JetDirect to add printer by IP address like ''socket://XX.XX.XX.XX''
- Choose driver
Foomatic/hl1250 en - Use option settings to make it the default printer and use 600x600 DPI quality
- Test using enscript filename.txt (old a2ps command)
- See if printer is default with
lpstat -p -dand/or set it withlpoptions -d PRINTER_NAME lpstat -dshould now show the new printer as the default
- Local RPMs
- perl-Math-Round
- Slack
- sunwait
- Test with
/usr/bin/sunwait -v sun down -0:01:00 33.640411N 84.419853W
- Check any remaining
/etc/yum.repos.d/*configuration setup- For example, Ookla Speedtest CLI
- Mount /disk2 (see adding_a_second_hard_drive)
- Install PasswordSafe for Linux
- Use this instead of Gorilla password manager
- v1.16 works with
dnf localinstall passwordsafe-fedora37-1.16.rpm - Binary is /usr/bin/pwsafe
- Add CPU graph and Weather Info to panel
- Packages are xfce4-cpugraph-plugin and xfce4-weather-plugin which are part of the bash install script noted near top of this page
- Right-click top panel > Add New Items
- Add CPU Graph, Weather Info
- Adjust top and bottom panels
- Reverse positions
- Make top panel 24px with icons at fixed 22px
- Bottom panel 24px with icons at fixed 16px
- Top panel has these buttons:
- Show desktop, separator, calculator, xterm, gedit, chrome, chrome beta, firefox, app finder, file manager, screenshot, password safe, keepassxc, shortcut to security cams, VirtualBox, Remmina, XfreeRDP
- Stop the Keyring popup GUI when starting Chrome (see this post)
cd ~/.local/share/keyrings; mv login.keyring login.keyring.IGNORE- Log out and log back in or reboot
Post Installation
- In /root/bin on old/new machines, see final_sync_for_new_server.txt
- As root, use
alpineto check email from crons that indicate any errors or failures - Cleanup old files in root, my $HOME
- Fix date to show 24 hour clock
- Setting should be in .bashrc
Other Notes
MATE is now available. See MATE Documentation
- Add System Monitor to panel
dnf -y install mate-system-monitor- Right-click top panel > Add to Panel
- In the "Find an item to add to the panel:" search box, enter "System Monitor" and click Add
- Moving display of current CPU usage should appear
Known issues
- SHA-1 security signing is not supported on RHEL9 (see RedHat blog post)
- /etc/cron.daily/google-chrome fails because of this
- Probably not a critical issue since Chrome can be updated via dnf